aka, How Andrew Likes to Waste an Incredible Amount of Time.
DISCLAIMER: The information provided here is for
entertainment purposes only. I do not know if the materials used by
Sparklets, or any other early soda siphon makers, meet current standards for
safety for drinking water. Furthermore, the gasket forming materials used in
this project are not labeled for use in contact with food or beverages. If you
should attempt to repair your own soda siphon using the information below,
whether successful or not, I guarantee that you and everyone you know will die
a horrible death in screaming agony. You have been warned.
One of the most dangerous phrases I know is "how hard could it be?" If you ever hear me say that, run away! That was the phrase that started the endless task of repairing an antique soda siphon I bought some years ago.
I found this soda siphon sometime in the 1990's at a thrift shop in Seattle. When I bought it I knew that all the rubber parts were shot, but I assumed that they could be replaced. Way back then the Internet didn't exist - or at least it didn't provide the universal marketplace that we know and love today. When I got my new treasure home, I went to the Yellow Pages to see what I could find [Anyone remember Yellow Pages? Big, heavy, floppy books full of outdated and incomplete information about vendors in a small geographic area, organized by random categories.] I don't recall what heading I thought was appropriate for antique soda siphon repair parts. Regardless, I didn't find what I needed, so it went up on a shelf as an ornament.
Around the middle of last year I went online to see about buying replacement parts for the soda siphon, since now the Internet provided me access to the entire world's bounty. I found a handful of websites that specialize in selling replacement parts for old soda siphons. Unfortunately, none of them sold parts for Sparklets - the company that made my siphon. One went so far as to explicitly state that they didn't carry Sparklets' parts. I can only assume that this is because Sparklets is out of business, and has been so for a long time. Sigh.
Fast forward to a time earlier this year. I was experimenting with making my own custom shoe orthotics. I read about a technique for making a silicone gel that was moldable into any shape and set up in a matter of minutes. The process involved using GE Silicone I mixed with cornstarch (note, supposedly the more commonly available GE silicone II won't work, though I haven't tried it.) Something about the corn starch allowed the silicone to set up in the absence of air - making it moldable. As it turned out, the resultant material was much too stiff to make a comfortable orthotic. But still, it was an interesting substance to work with. I recalled my antique soda siphon and thought "Hmmmmmm. How hard could it be?"
I went to the hardware store to see what interesting bits and pieces might be available for this project. I decided that before trying to make something with the moldable silicon goop, I would carve some rubber corks into the right shapes - possibly augmenting it with my silicone forming material. That was a total waste of time and money. I didn't get close to producing what I needed.
On my second trip to the hardware store I concluded that I would make a plaster cast of what remained of the existing parts, then form entirely new parts from silcone. It would have been a lot easier if I had known anything about plaster casting, but not knowing anything has never stopped me before. So, I bought a box of plaster of Paris and a jar of Vaseline and headed home to figure it out.

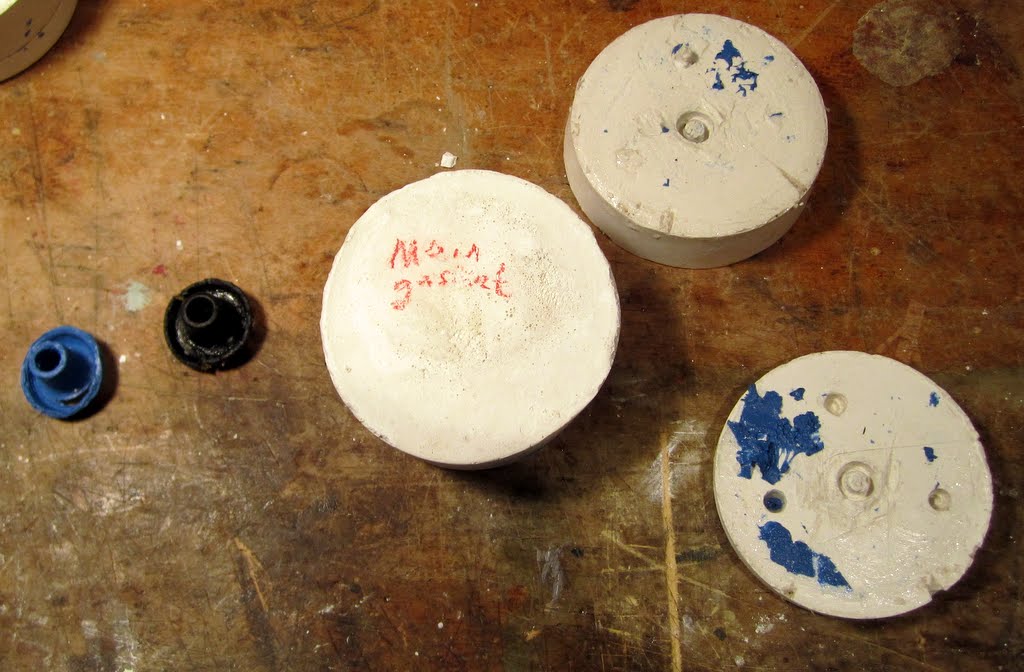
Using the bottoms of plastic cottage cheese containers as forms, I covered the dried up old rubber gaskets with Vaseline, mixed up a small batch of plaster of Paris, and formed the molds for the pieces: first I poured a layer of plaster, into which I pressed a gasket piece to its halfway point. After the plaster had dried, I carved some depressions in the base piece to act as registration marks. [I subsequently improved on that by embedding pieces dowel into the plaster.] I covered it with Vaseline then poured a second layer of plaster to cover the original gasket. Returning the next day I was able to knock the plaster molds out of the cottage cheese containers, and then pry apart the two halves with a screwdriver. Removing the old gasket left me with a nicely formed mold. I did have to wipe off all the extra Vaseline, and there was a certain amount of carving and buffing required to smooth out irregularities in the mold, but basically it was good to go. After all, "how hard could it be?"
I made up a batch of my silicone plus cornstarch goop, re-covered the molds with Vaseline, then schmeared the silicone into the molds with tongue depressors. I pressed the mold halves together (which could only go one way thanks to my registration marks,) and let the silicone set up. Of course I was impatient, repeatedly checking the molds over and over again before they were ready. As a result, the first set of gaskets, while the right shape, were riddled with holes and air pockets because I couldn't leave them alone while they were curing. So I cleaned it all up, tried again, and left it overnight.
When I opened the molds next day the parts looked great - though with lots of extra flanges that I had to cut off within X-Acto knife.

I put the soda syphon back together with my new gaskets, filled it with water, charged it with a soda charger, and tried it out. It worked! Except for two problems: first, water was leaking out of the handle. It turns out that I had missed one rubber part. Second, the silicone plus cornstarch gel made gaskets that were just too soft. The gasket that goes around the head of the soda charger deformed and blew out of its seating during the charging. The gasket that sat at the top of the bottle, though it held for that first use, had basically been cut in half when the top was screwed on. Still, it was exciting to see that the concept worked.
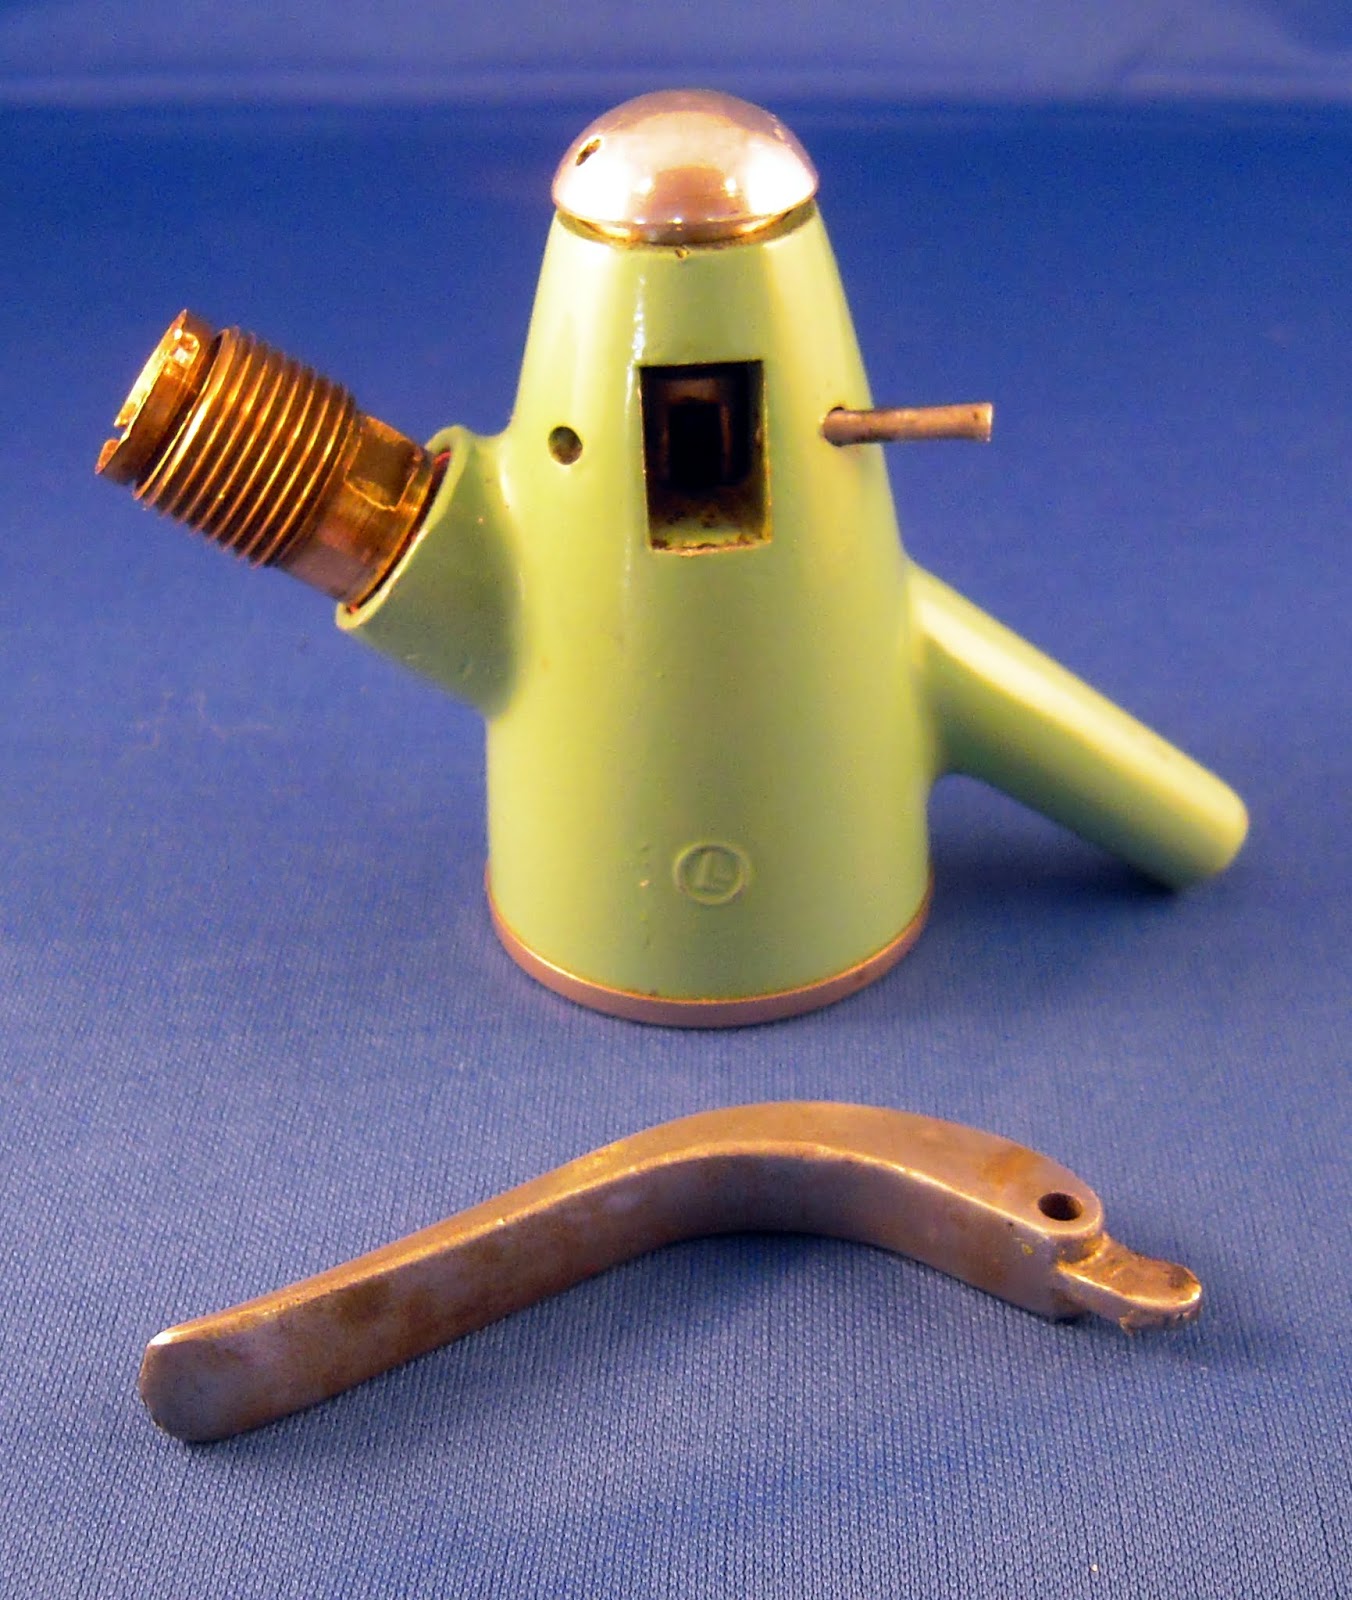
To fix the first problem I had to figure out how to disassemble the bottle top mechanism, which looked simple enough, but was thoroughly frozen together by years of assembly. Eventually, with cleansers, oil, and elbow grease I got the thing apart and found the decayed part. This one was a bit tricky, because it consisted of a metal plunger around which a rubber gasket was formed. Thus, I would need to make a mold that would hold the plunger and form a gasket around it. Tricky, but not impossible. The next day I had my new form ready.

Back to the hardware store I went to solve the problem of the soft gaskets. This time I decided to go with gasket forming compound. I bought a tube of
Permatex “Blue” RTV silicone gasket maker. I cleaned up my molds, schmeared them with Vaseline, fill them with gasket material, pressed them tight, and left them for the night. The next morning I pried the molds apart only to find that the gasket forming material had not dried at all. I had been under the impression that RTV silicone sets up without air. I'm not sure how this is supposed to work when making an automotive gasket (the real use for this product.) Supposedly you can put it between two engine parts, clamp it down, and a gasket will form. However, I really don't follow why RTV silicone would solidify in such an environment but not get solid inside the tube. The whole point of adding cornstarch to the GE silicone had been to overcome the problem of making silicon cure without air. In any case, the RTV silicone was supposed to set up when clamped between metal parts - perhaps something about my plaster molds or the presence of Vaseline inhibited it curing. In any case, I cleaned the still-liquid gasket forming material out of the molds, schmeared them with fresh Vaseline, then filled them with gasket forming material to which I added cornstarch.
The next day I open the molds again. Voilà! Beautiful bright blue gaskets that were much firmer than the prior GE silicone-based ones. I cut away the excess with my X-Acto knife, installed them in the soda siphon, and had a go. It worked almost perfectly, but again the damned charger gasket blew out during the charging. And, when I later took the top off, I discovered that the top gasket was partially cut - the blue Permatex wasn't strong enough. Fortunately, the lever no longer leaked.

Once again I went to the hardware store. This time I purchased
Permatex “Ultra Grey Rigid High-Torque” RTV silicone gasket material. I cleaned up my molds, made a batch of gray silicone with cornstarch, filled the molds, pressed them shut, and waited overnight. The next day I discovered that for some reason the largest gasket hadn't set up. Evidently there's something about the gray high torque silicone gasket material that required either more time, or more cornstarch to make it cure. I'm sure you know what I did next. I cleaned the mold, made a batch of gasket forming material with extra cornstarch, filled the mold, pressed it shut, and waited overnight.
The next day I had a full set of beautiful gray gaskets. No doubt you will be pleased to know that they worked perfectly, and have continued to do so, charge after charge, for the last couple months.
So now I have a working antique soda siphon. Cool. That wasn't so hard, was it?
To see more, check out my update to this blog post: Repairing an Antique Soda Siphon – Redux.







 Posts
Posts